So many of you Peace Doves decorate your beautiful homes with prettyful paintings and decor items. My favorites have been the bright colorful homes with large colorful wall art, but also watercolor paintings because they are truly stunning.
So I thought, what if I make my own magical watercolor paintings so that y’all can have fun with every detail of your shabby chic country living lifestyle.
July is World Watercolor Month! I dunno when this gorgeous event was created. I just know that artists from around the world come together to paint with watercolors for the whole month. For the first time, I have decided to participate because what better way to say “WOW” than falling in love with the styling of wall art?
But I don't have a lot of watercolor paper. How can I make beautiful wall hangings for living rooms if I don’t have the right paper?
I decided to create my own watercolor ground. Watercolor ground is a primer that can be brushed onto many surfaces that emulates the look and feel of watercolor paper. This would help me create beautiful country home goods using all of the non watercolor paper I already have.
I searched high and low for watercolor ground online and found that both Qor and Daniel Smith sell it in small jars. I was overjoyed when I saw this, until I looked at the price tags.
Then I learned from randomly watching a Frugal Crafter video that watercolor ground is made up of some kind of acrylic base.
Acrylic base? The curiosity bug in me was born!
I hopped down a large magical rabbit hole hunting for a recipe on watercolor grounds. I was so desperate to enter the world of watercolor, that I read articles and comments searching for a winner in every respect. To my surprise, a Youtuber already figured it out.
Stencil-Art made a video answering my question. They tested their recipe using water based markers. They did very well to where I felt I found something that was totally the bomb. I needed to try it with actual watercolors.
DIY watercolor ground recipe
These are not affiliate links
- Liquitex flexible modeling paste (professional medium)
- Blick master gesso--any gesso will work but this kind is my favorite
- A mixing knife--I used a plastic butter knife
I recommend flexible modeling paste compared to other pastes because this kind doesn’t crack on surfaces that bend. Other brands may call it “light” modeling paste.
I don’t have a strict measurement on gesso to paste. Just mix it so that it is the consistency of molasses. Liquitex paste is super thick, which is why it is always my go to. Blick master gesso is also very thick and white, which is why I love love love it. It also comes in a giant container and isn’t over-priced compared to other gessos of that same volume.
I am testing my ground on three different surfaces. I enjoy testing on many things because each test gets even cuter than the next.
These are not affiliate links
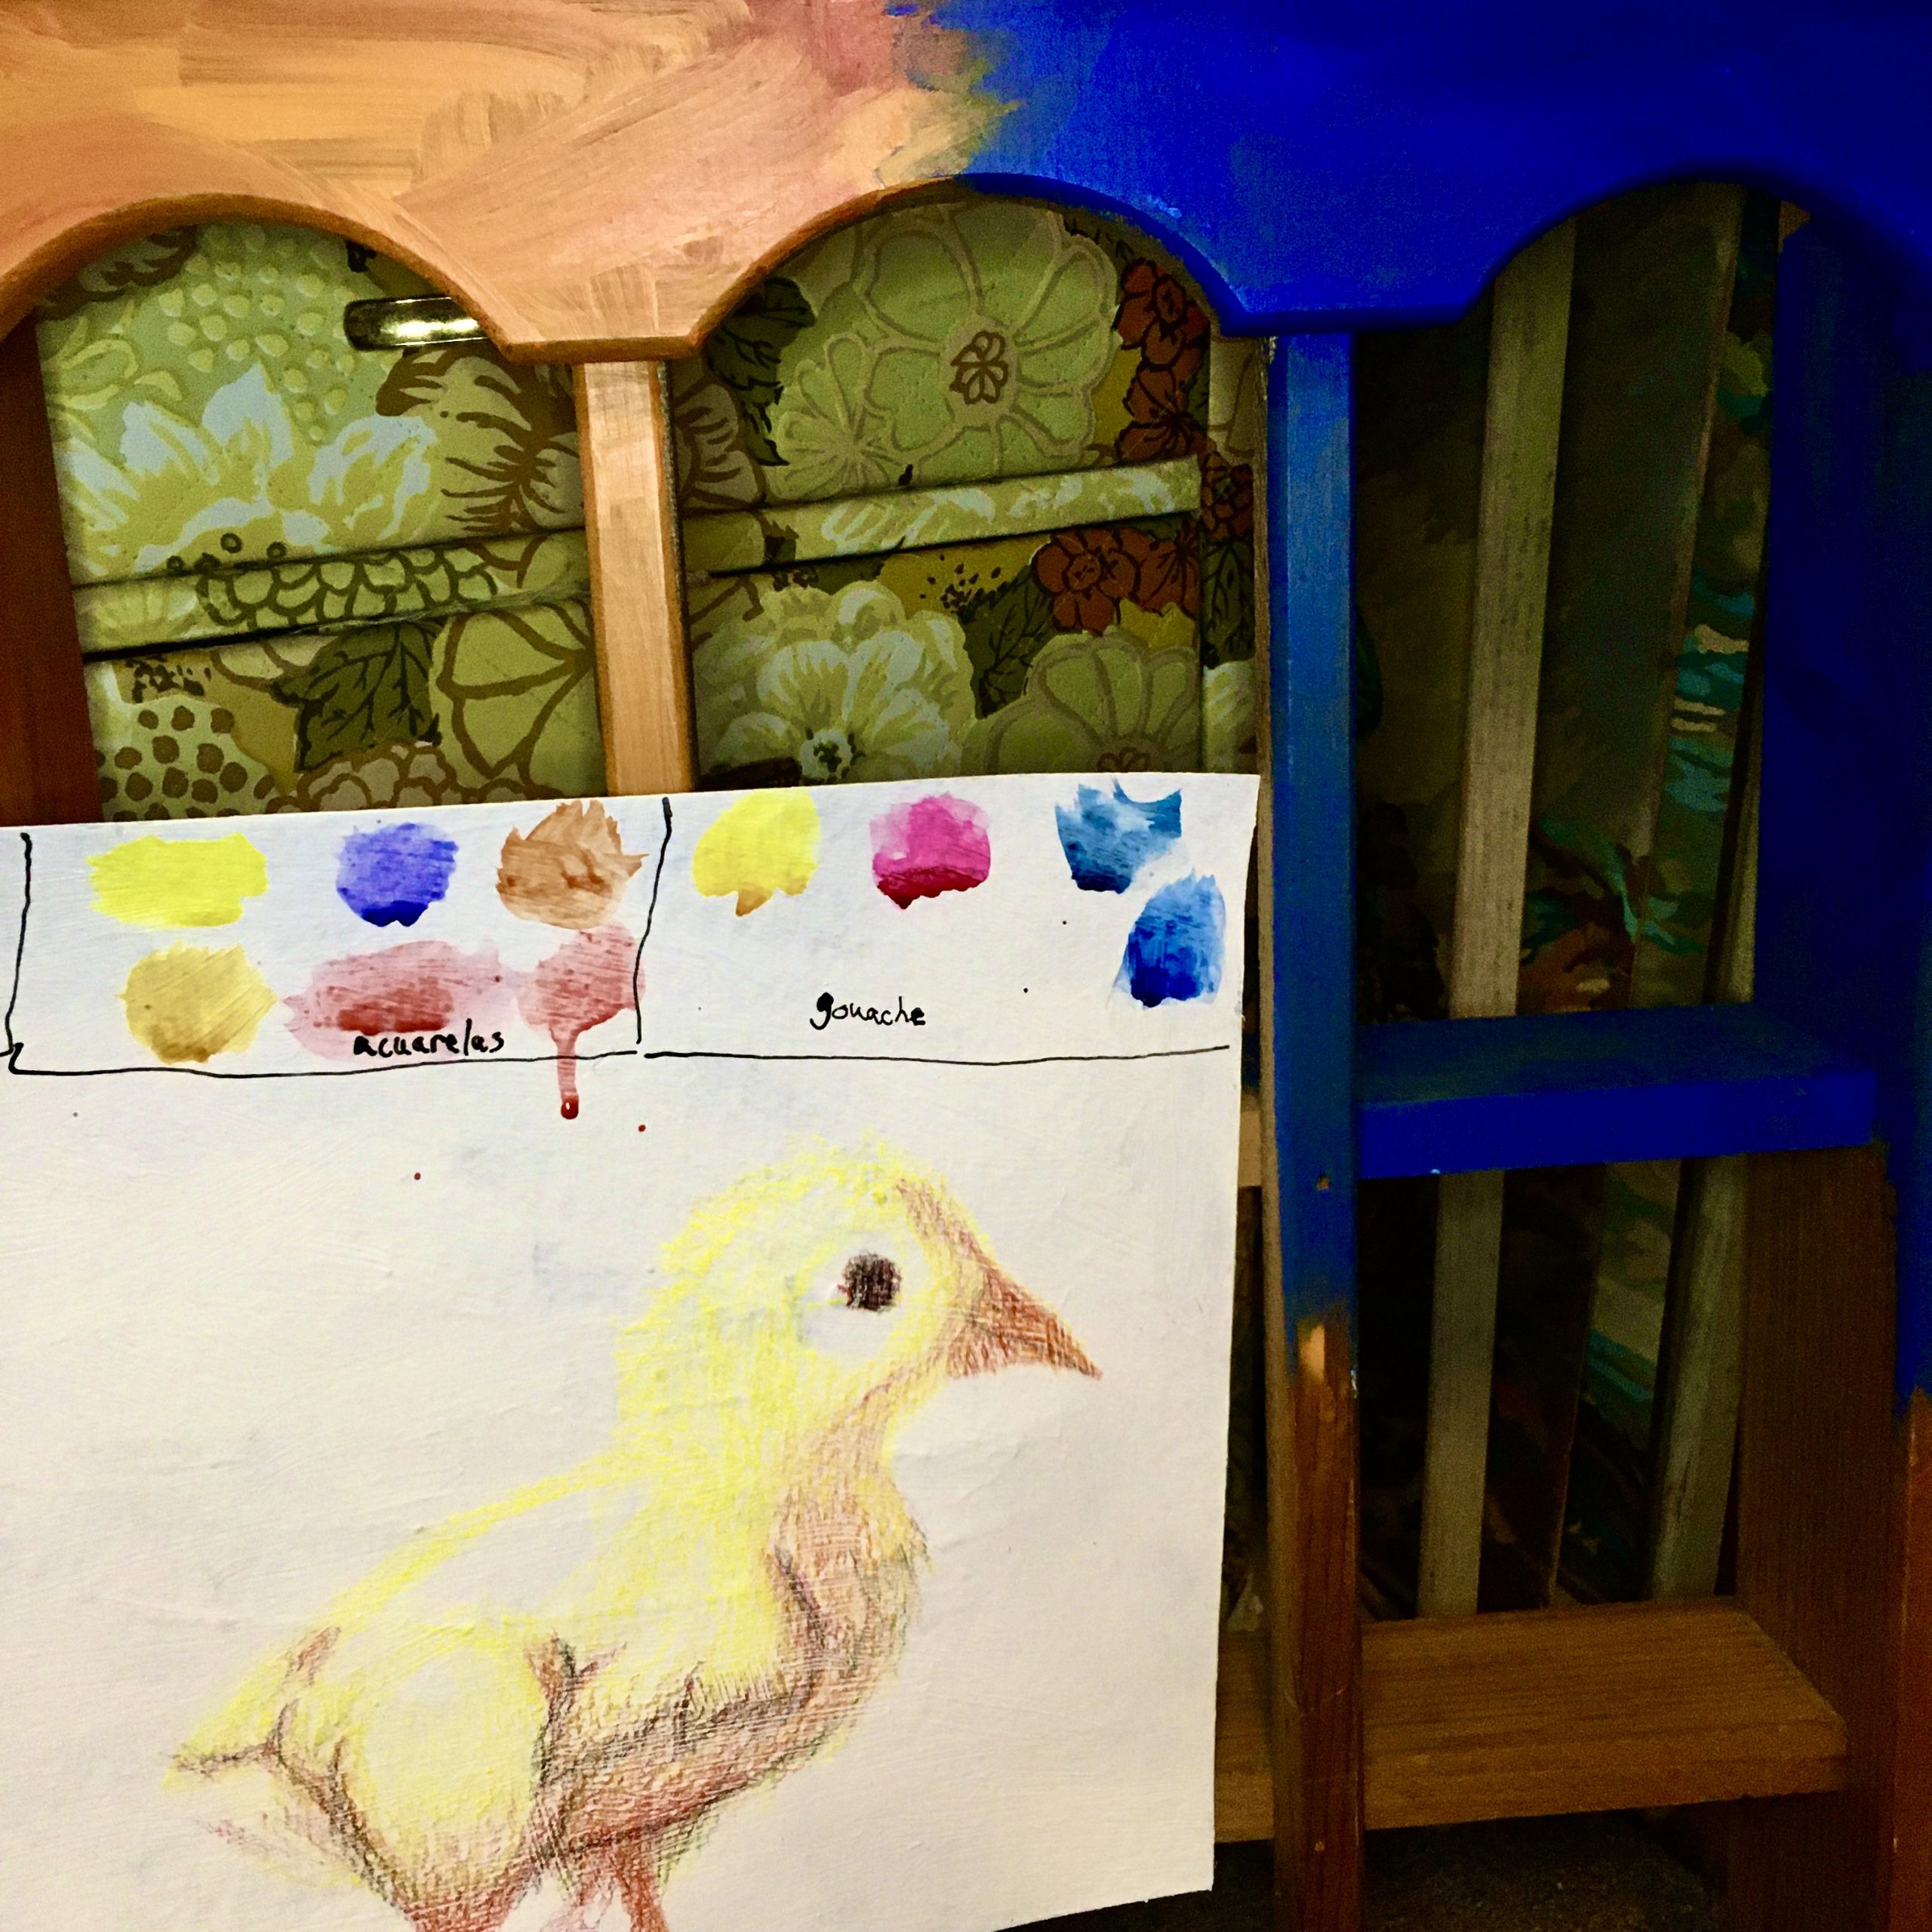
Test one is on strathmore 300 series watercolor paper. This particular sheet had a base coat of acrylic paint on it already. I never made a finished painting with it though, so it is 100% DIY ready.
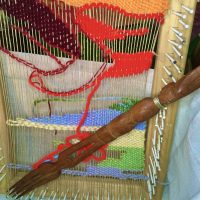
Test two is on a cheap scrap canvas from Walmart. My mama gives me cheap canvases because she knows how much I love a good DIY. She just wants the wooden frames for her handmade looms.
Test three is on thin artist white drawing paper by pacon. My mama gave this to me because she felt that creating with it definitely is more fulfilling to me. This paper is perfect because it is for dry media making this whole journey a healthy outlet for healing.

My control is a sheet of canson XL paper. I know it isn’t the best paper out there, but there was no way I was gonna use my blank strathmore paper for an experiment.

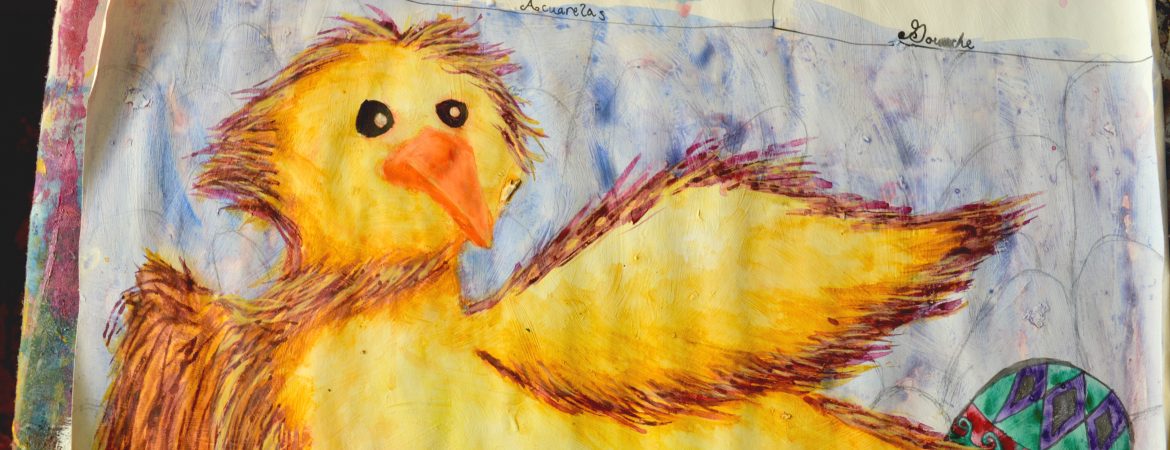
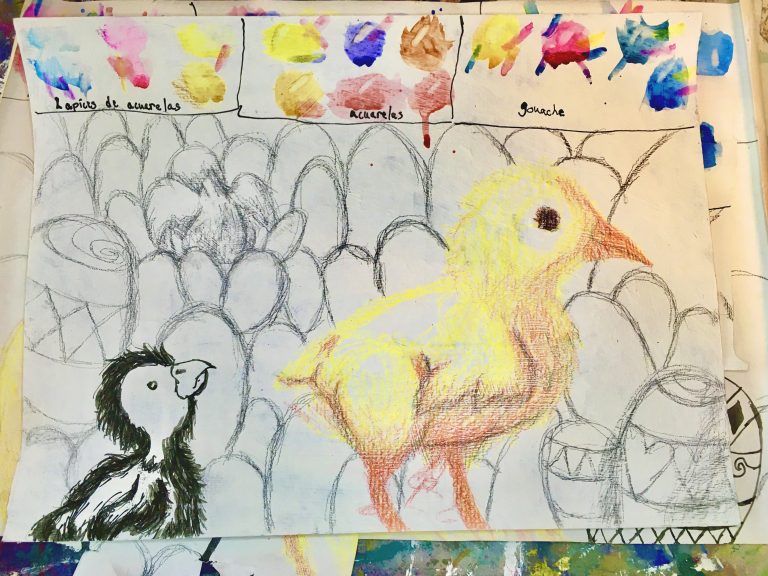
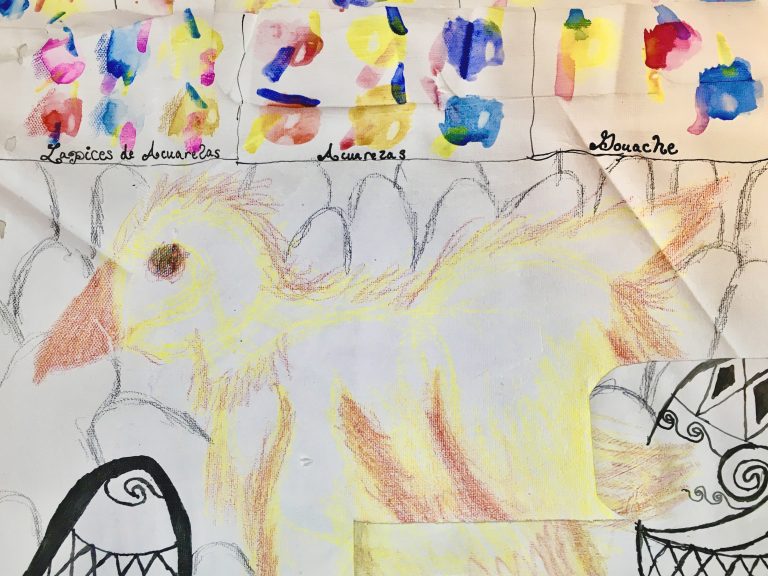
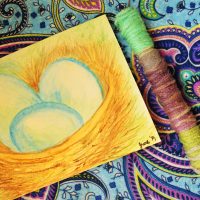
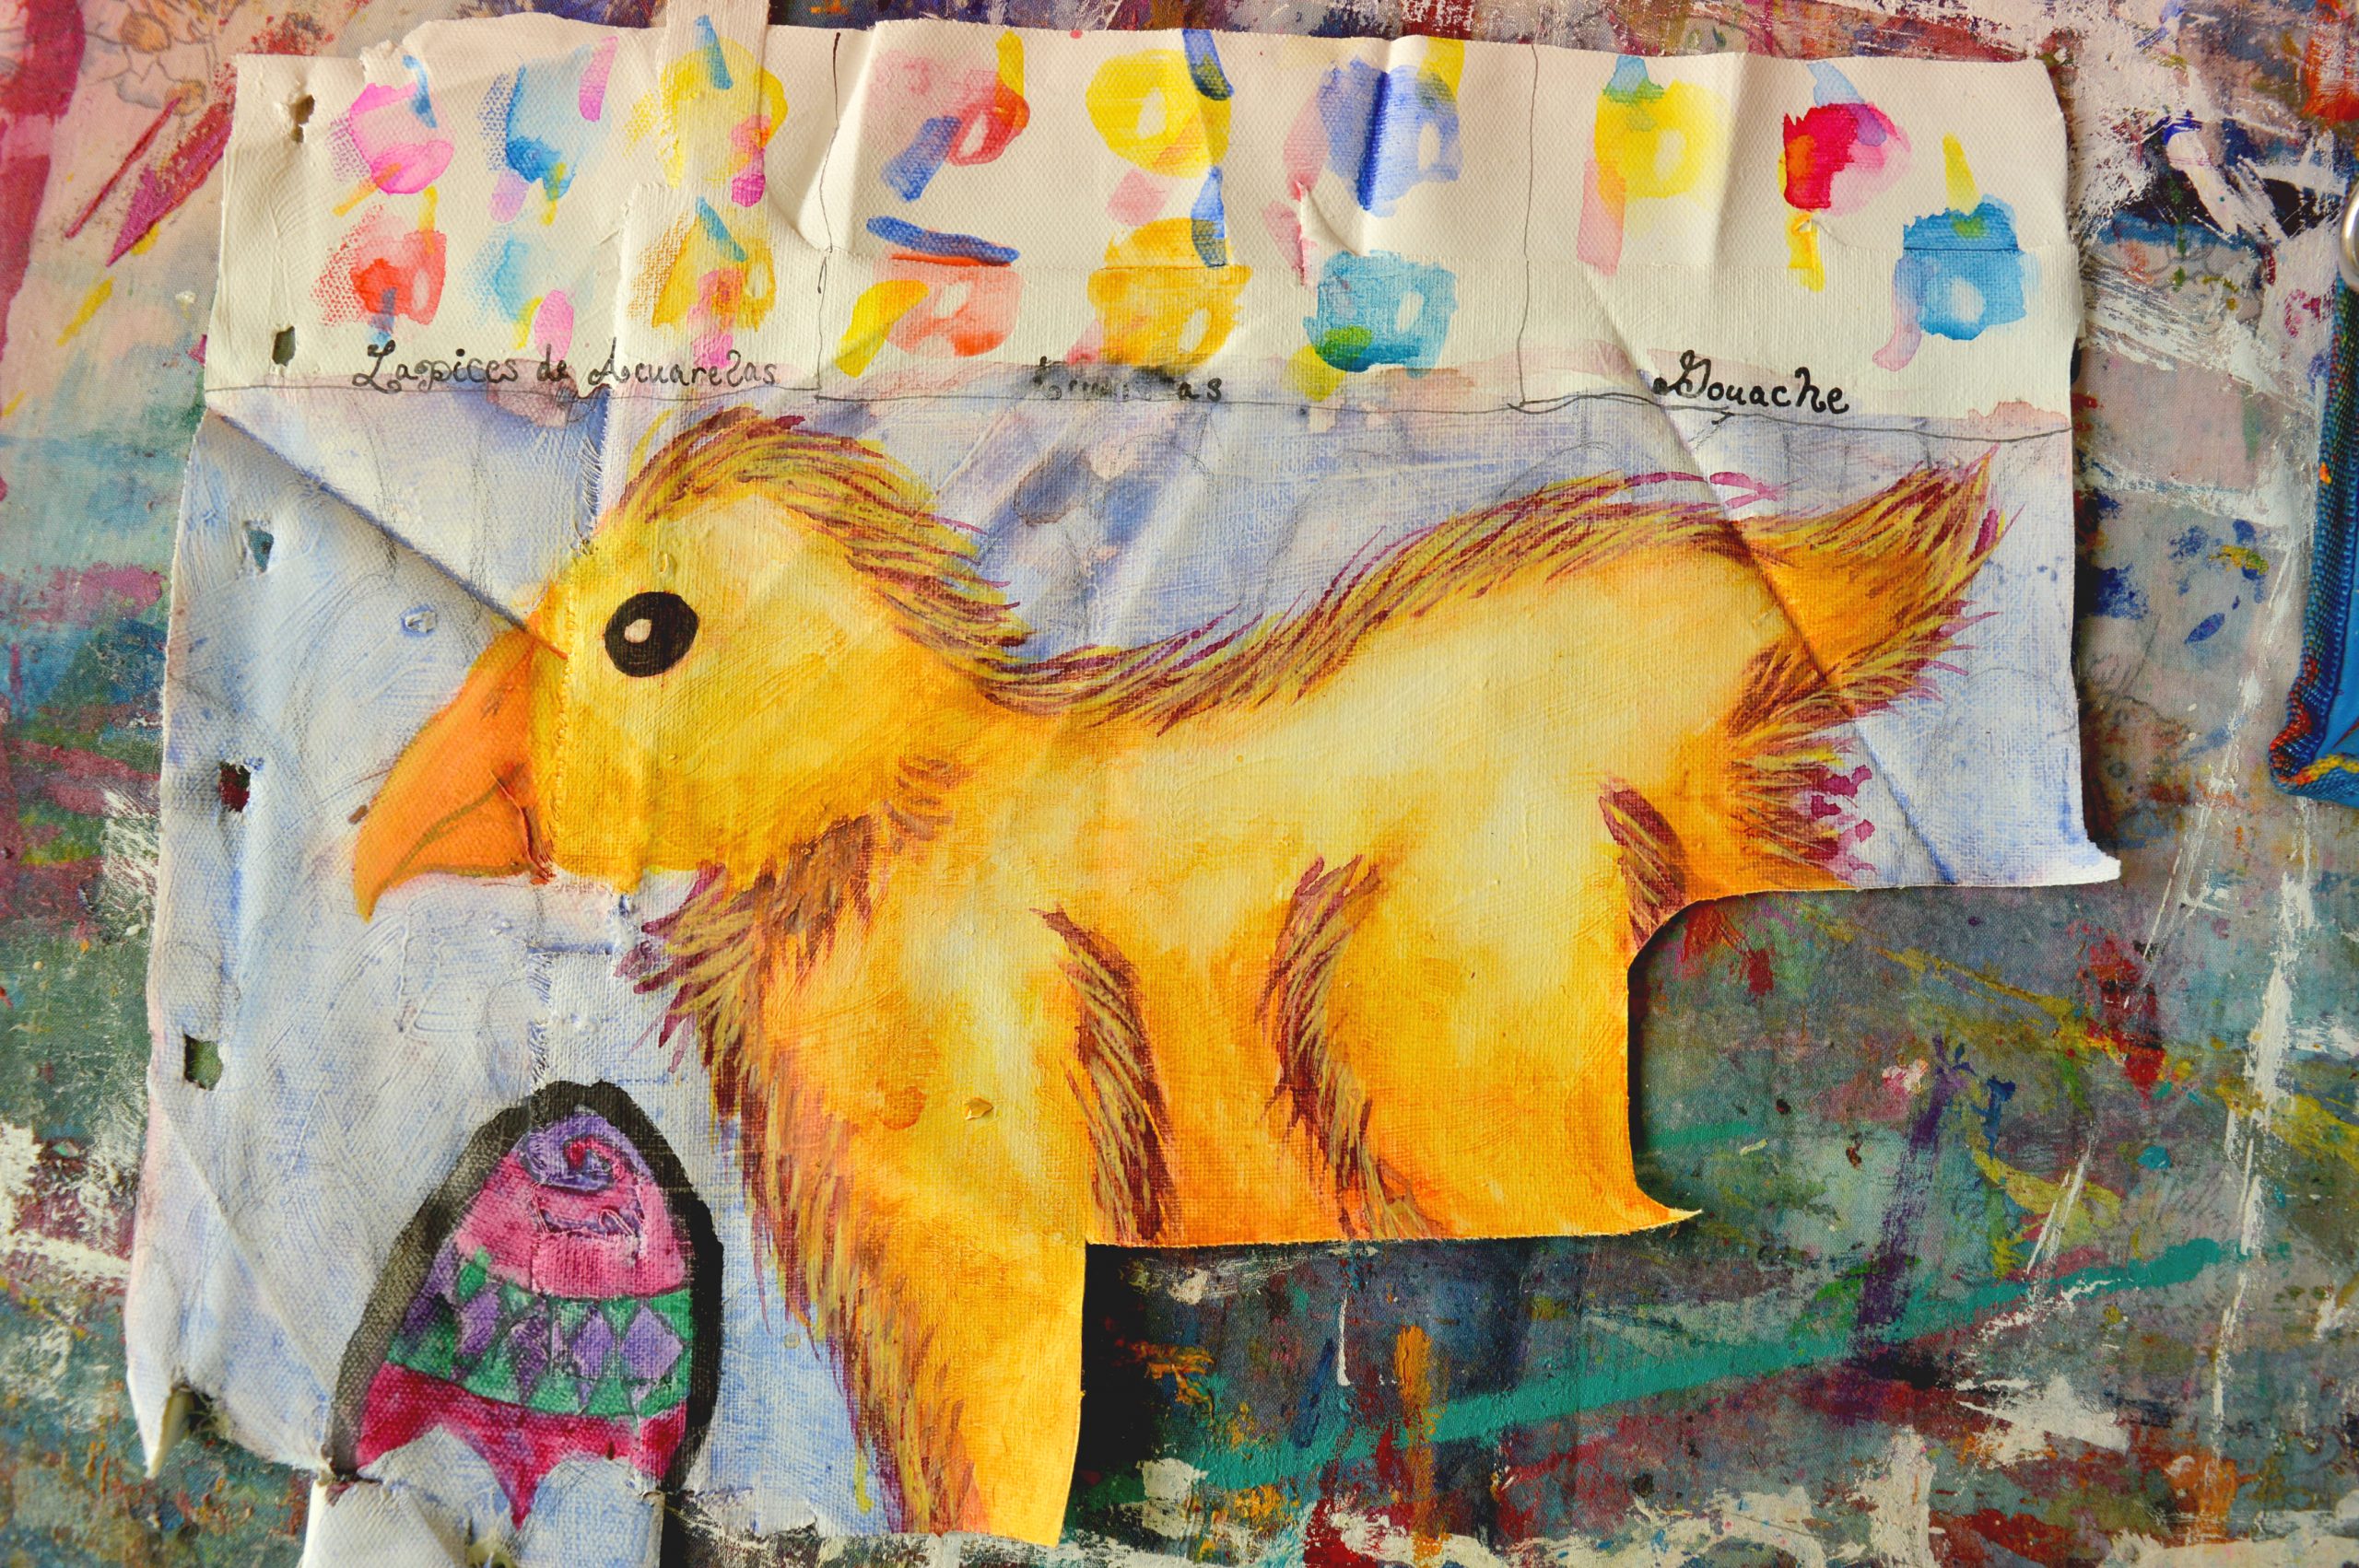
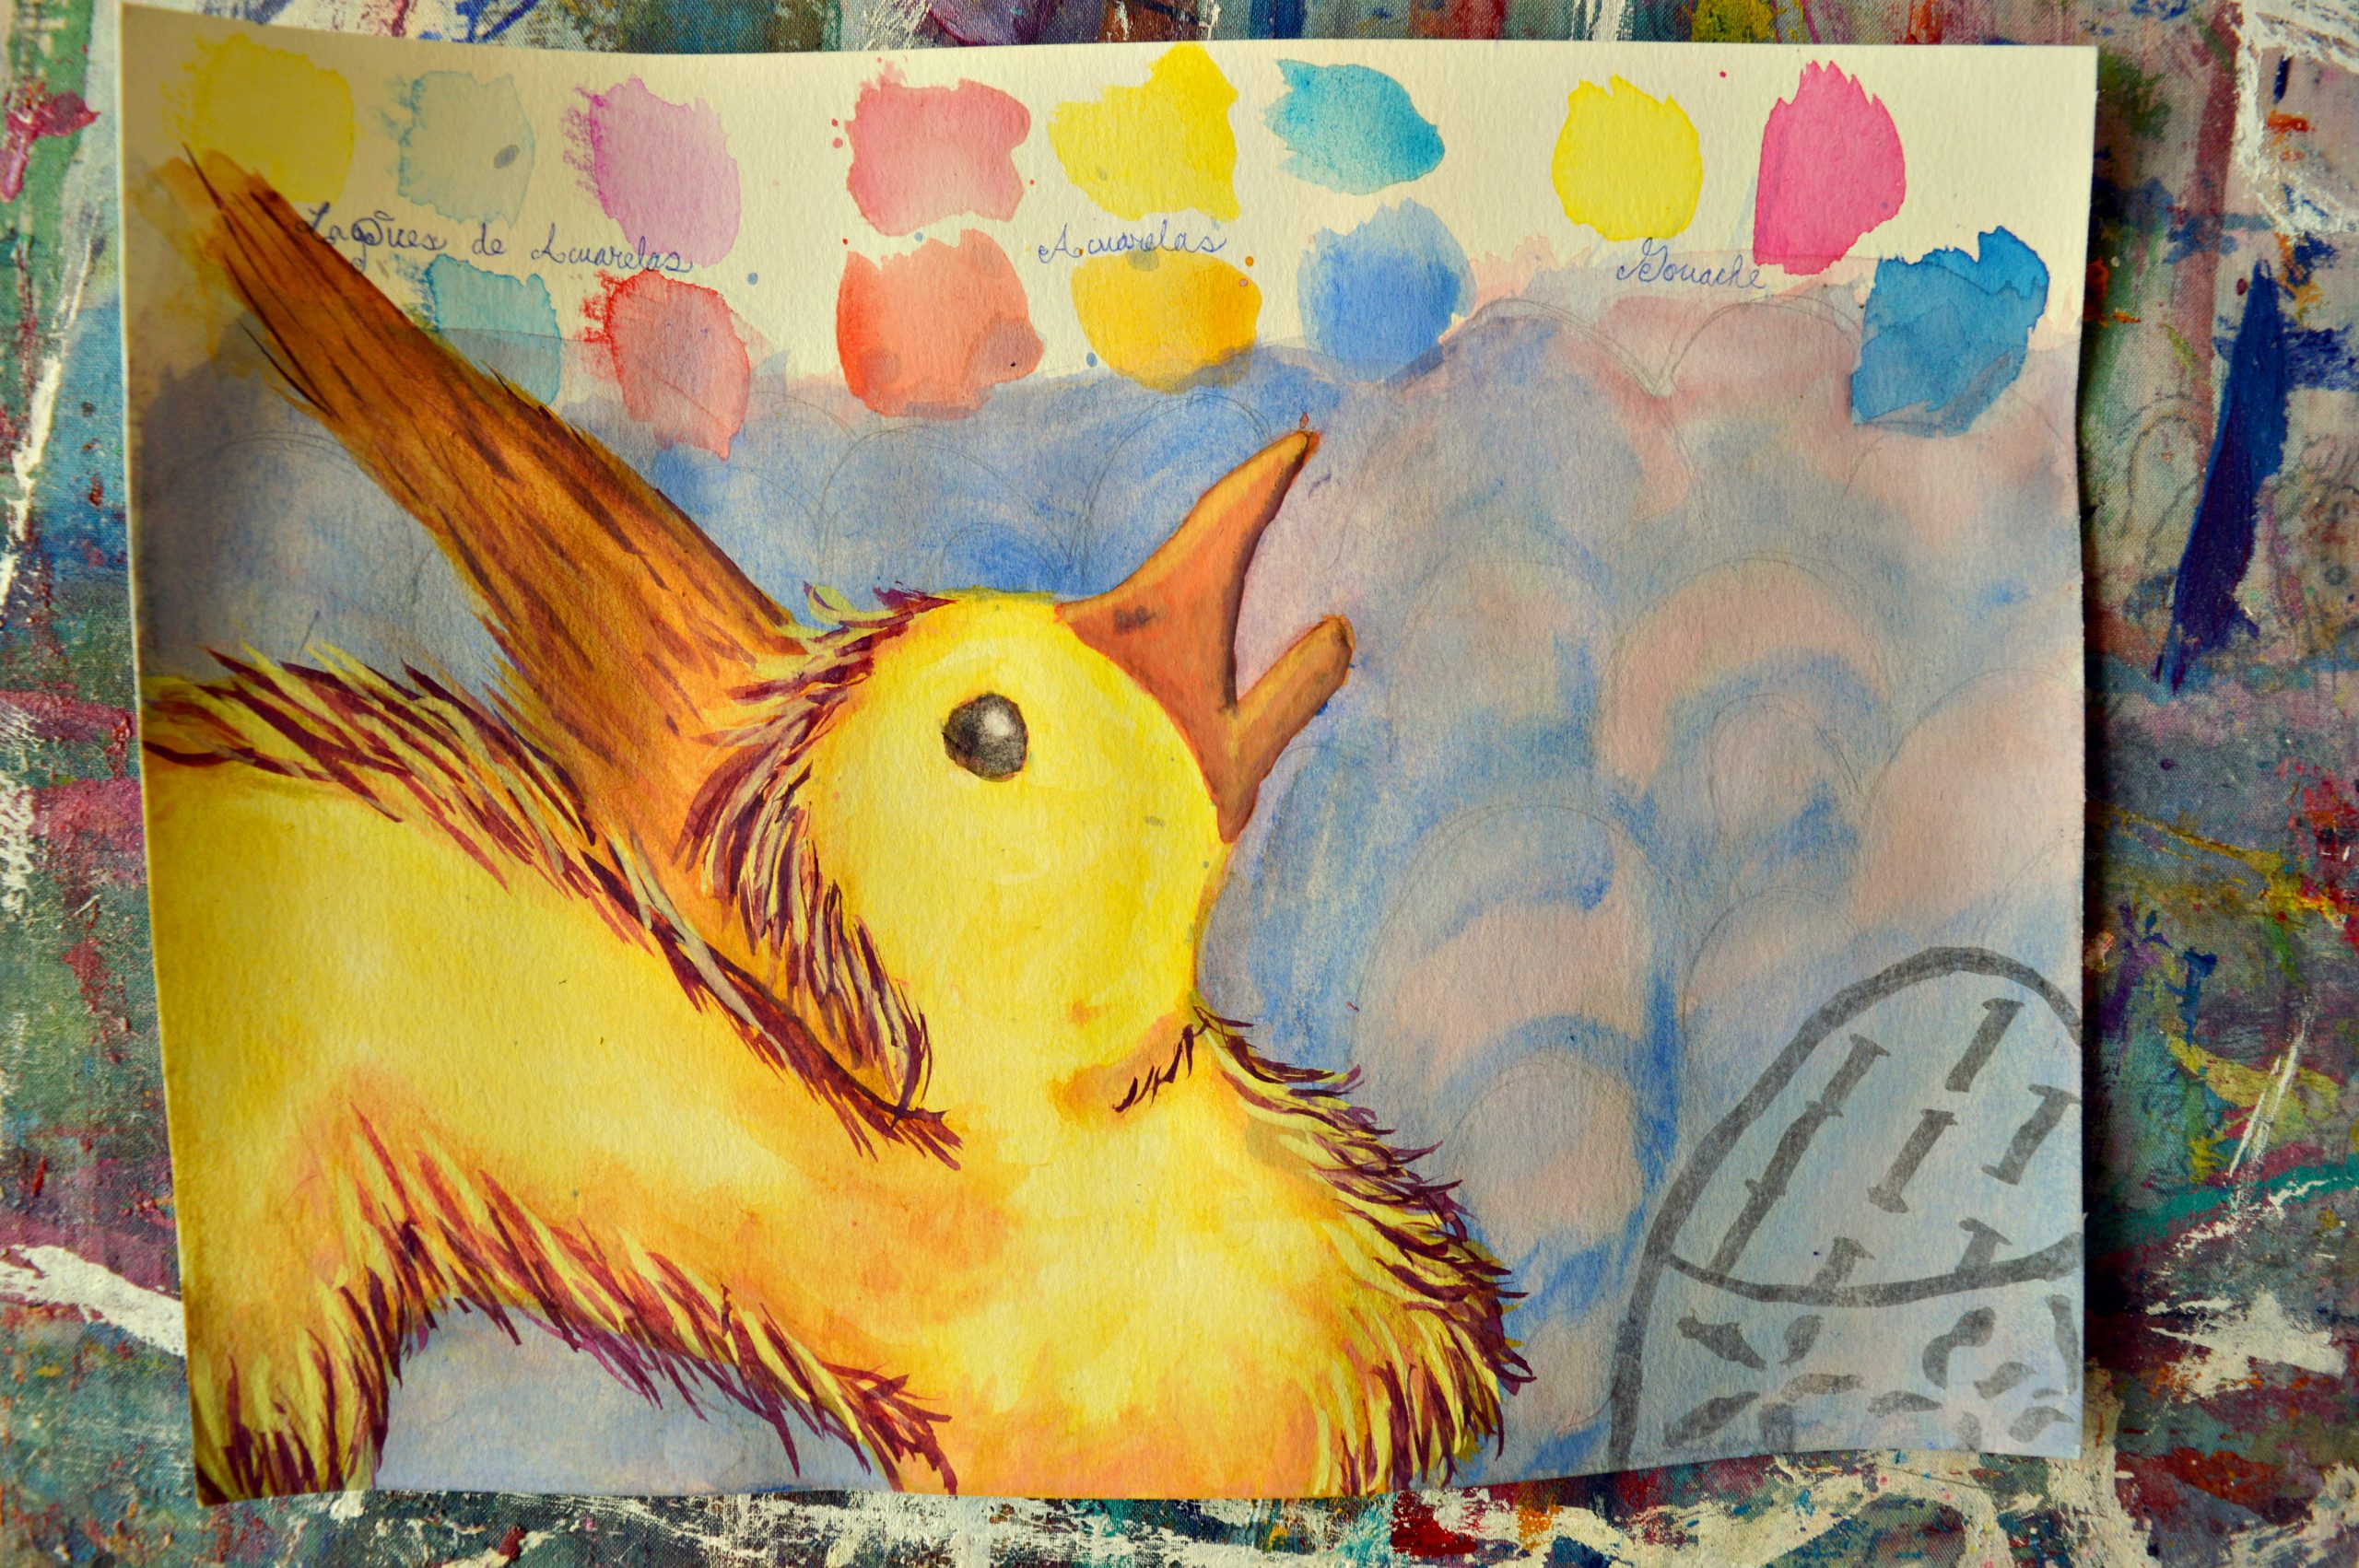
On all the tests, I started by drawing an adorable baby chick using Faber-Castell watercolor pencils. It made me so happy because it is super cheerful and full of joy.
Each surface handles watercolor pencil and graphite pretty well. Drawing on it was so fun and refreshing.
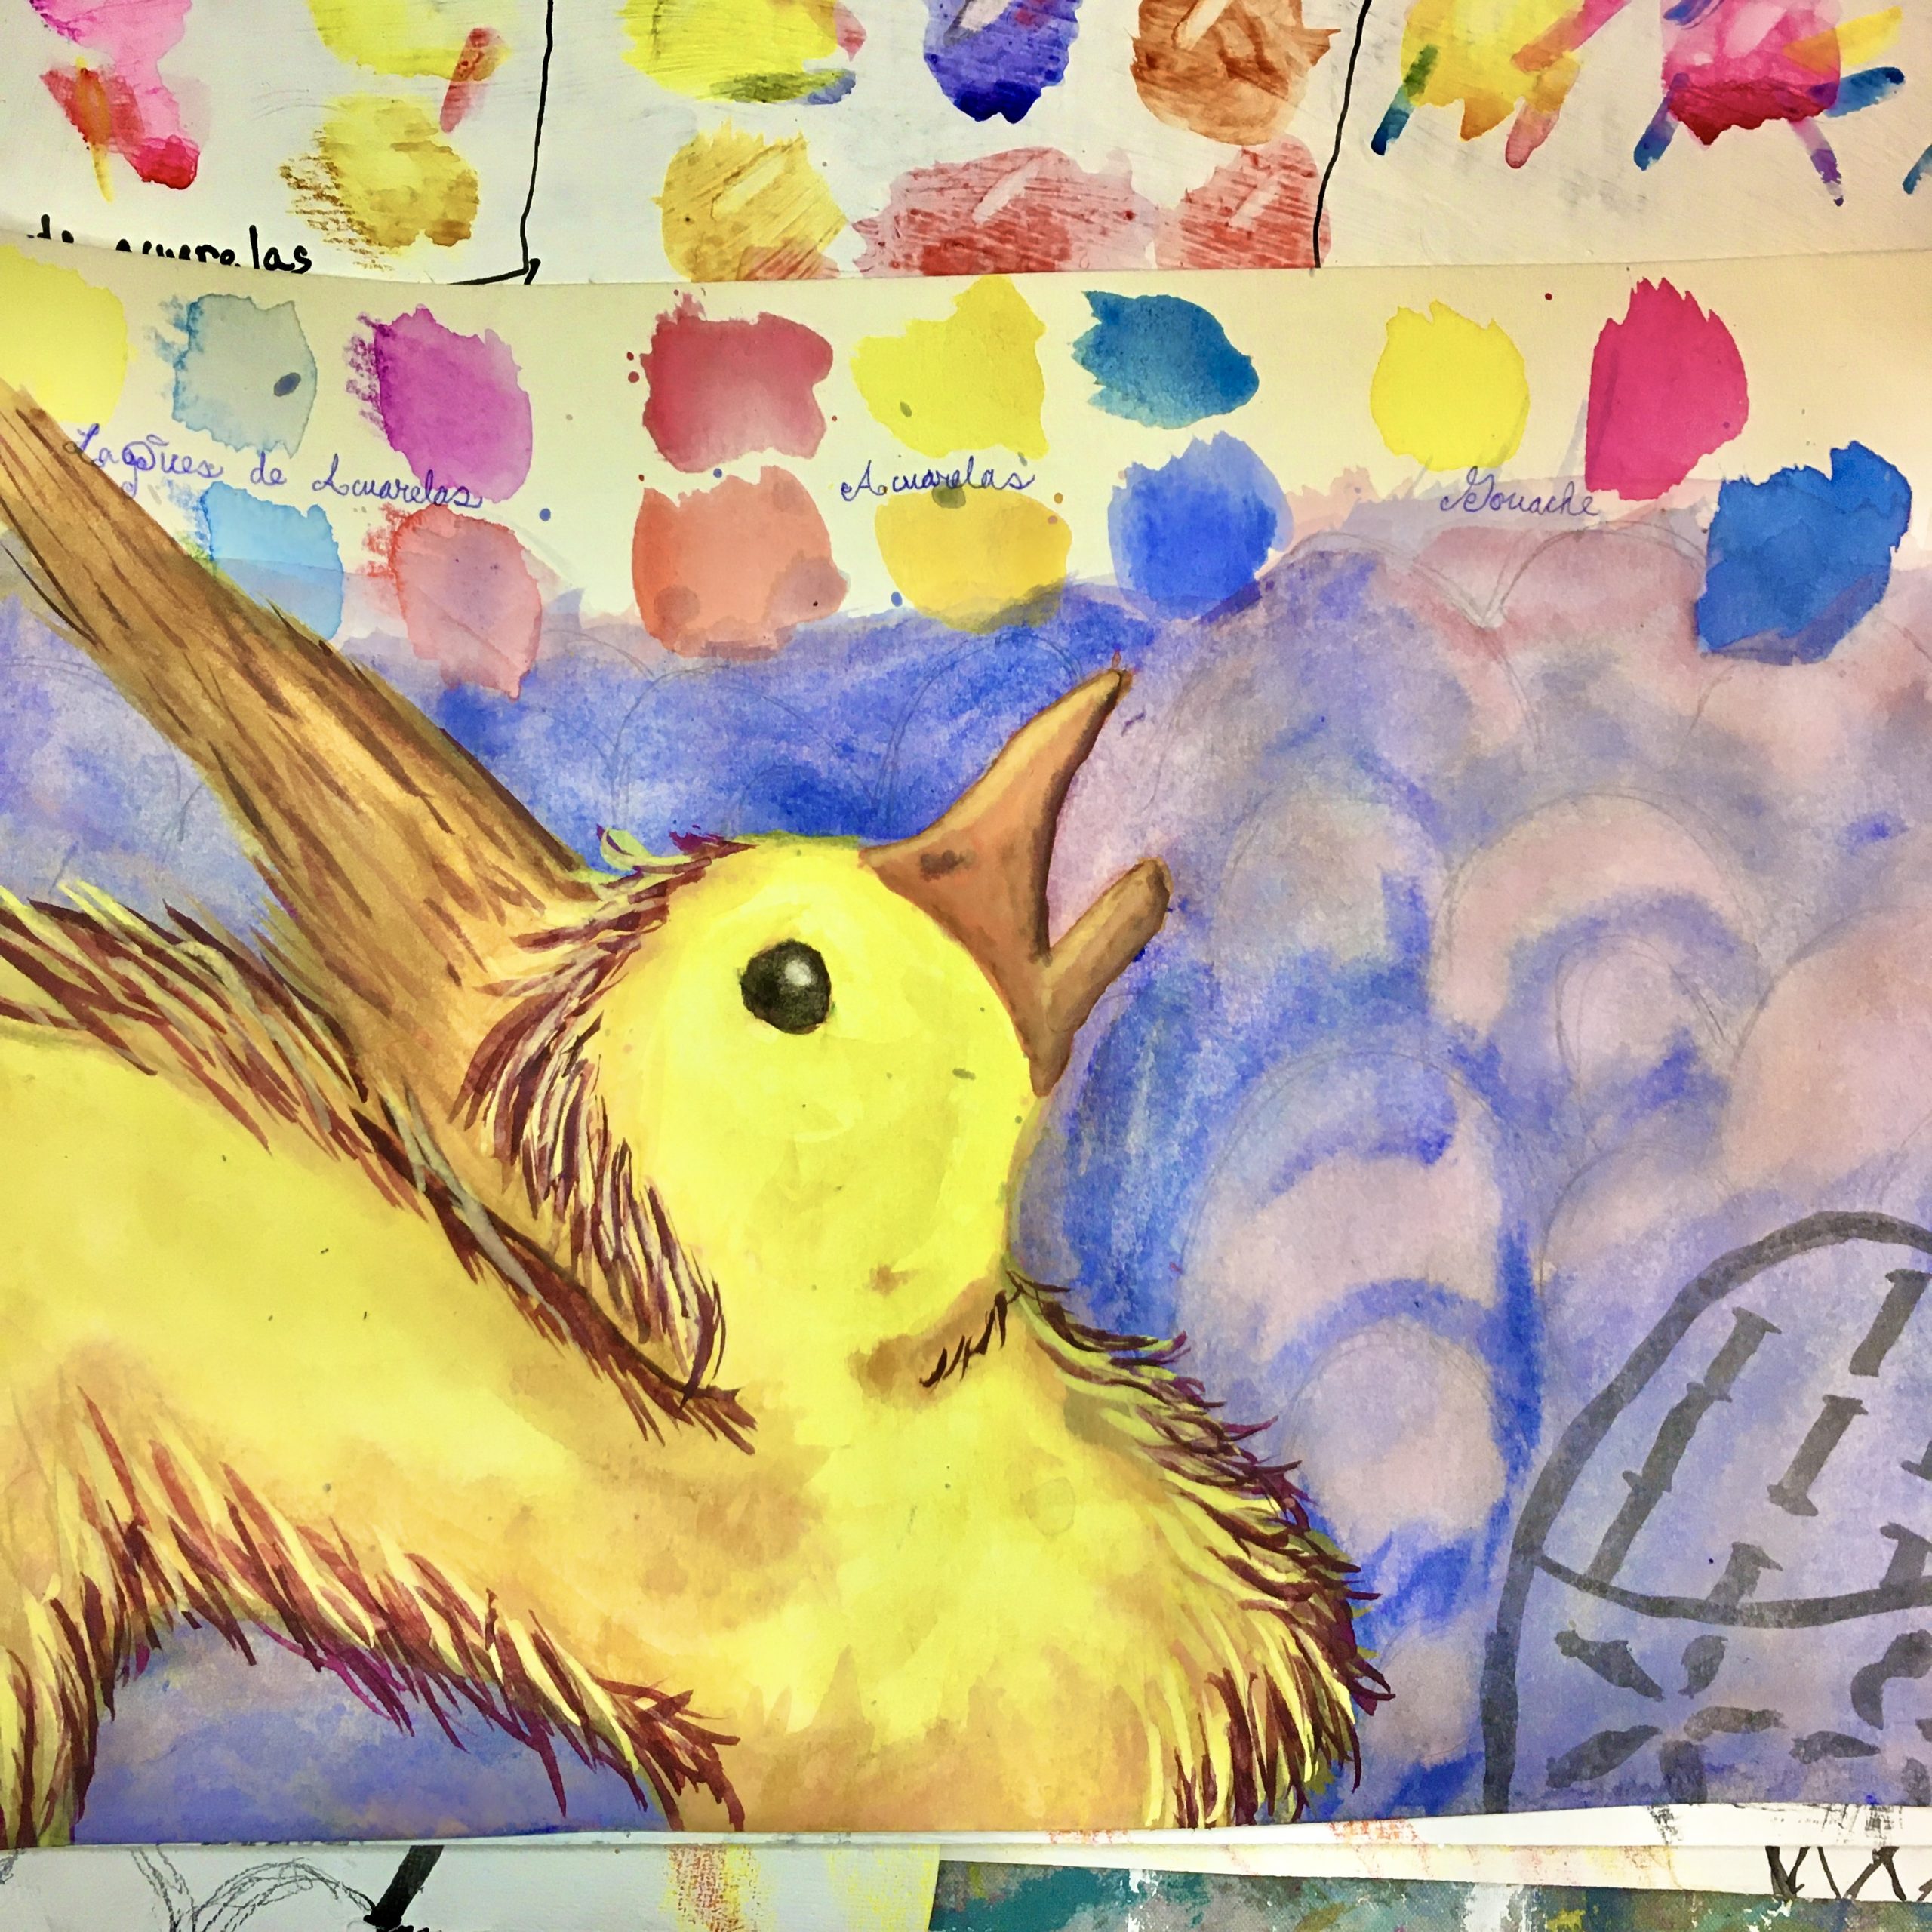
It also handles my basic color swatches better than I thought. I will admit, I used a hog bristle brush to brush the ground on my surfaces. This shows brush mark textures.
While I personally love this texture, if it bothers you, you should either use a synthetic nylon or golden taklon brush, or one of those black foam brushes. Be sure to thoroughly clean your synthetic bristle brushes because they technically aren’t meant to handle gesso.
Lifting and glazing
The colors lift beautifully. Though I will say, I only lifted one layer of color. I didn’t try lifting multiple layers.
I tried glazing, but I will admit I am no Brian Ashmore. I’m self taught when it comes to watercolor. I don’t think I waited long enough for my base colors to dry before I added a glazing layer.
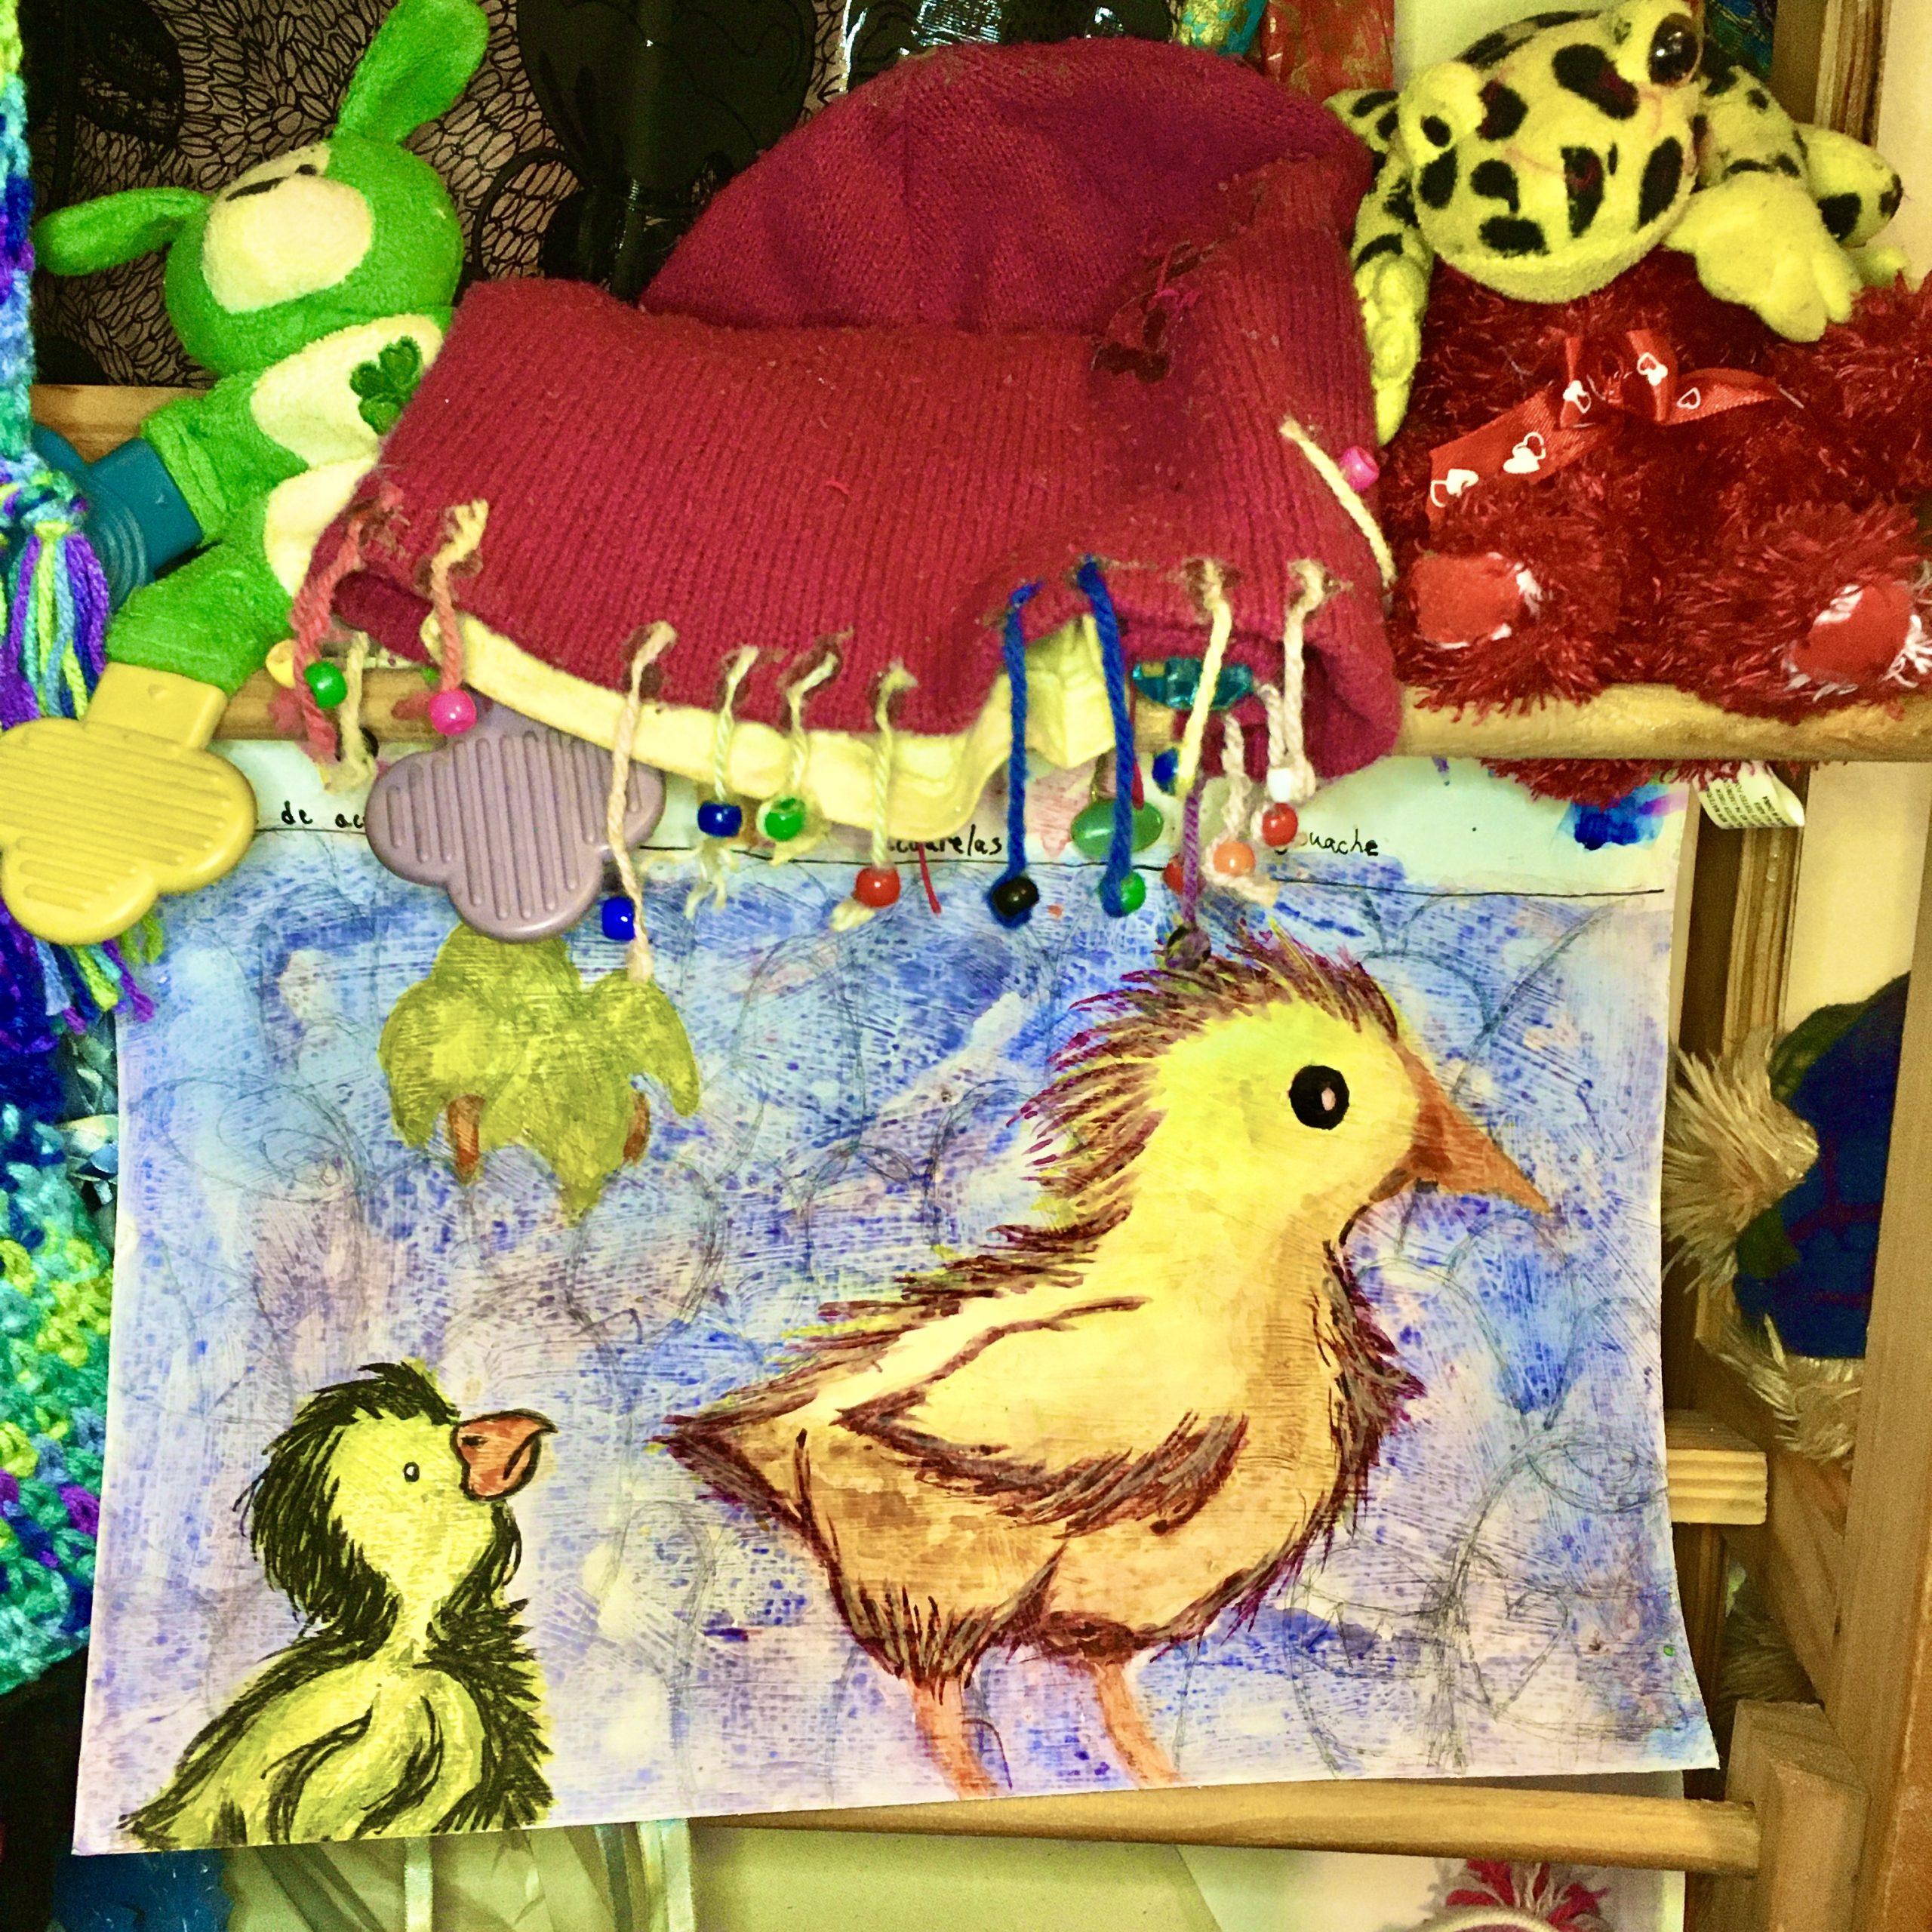
Ink smeared like crazy! This is India Ink, but when I looked at my control sample, I did notice that watercolor looks cloudy on top of ink.
The graphite did not smear like I originally thought. The smearing is solely from my ink sketches. I feel if you want to use ink with this method, do your ink outlines on top of the watercolors rather than underneath.
Of course, you well seasoned watercolor artists may have already known that.
But if you are worried about smearing graphite, then perhaps a fixatif spray will help. I did a test on graphite smearing with watercolor. I found that it doesn’t smear when watercolor wash is added.
I do feel the ink didn’t smear so much on the drawing paper with the ground on it. It smeared a little, but not nearly as much as on the other surfaces. I chose to keep moving forward with my tests because I wasn’t gonna let a few smears stop me.
Persistence is key when it comes to creating. Never let obstacles stop you from doing what you are meant to do.
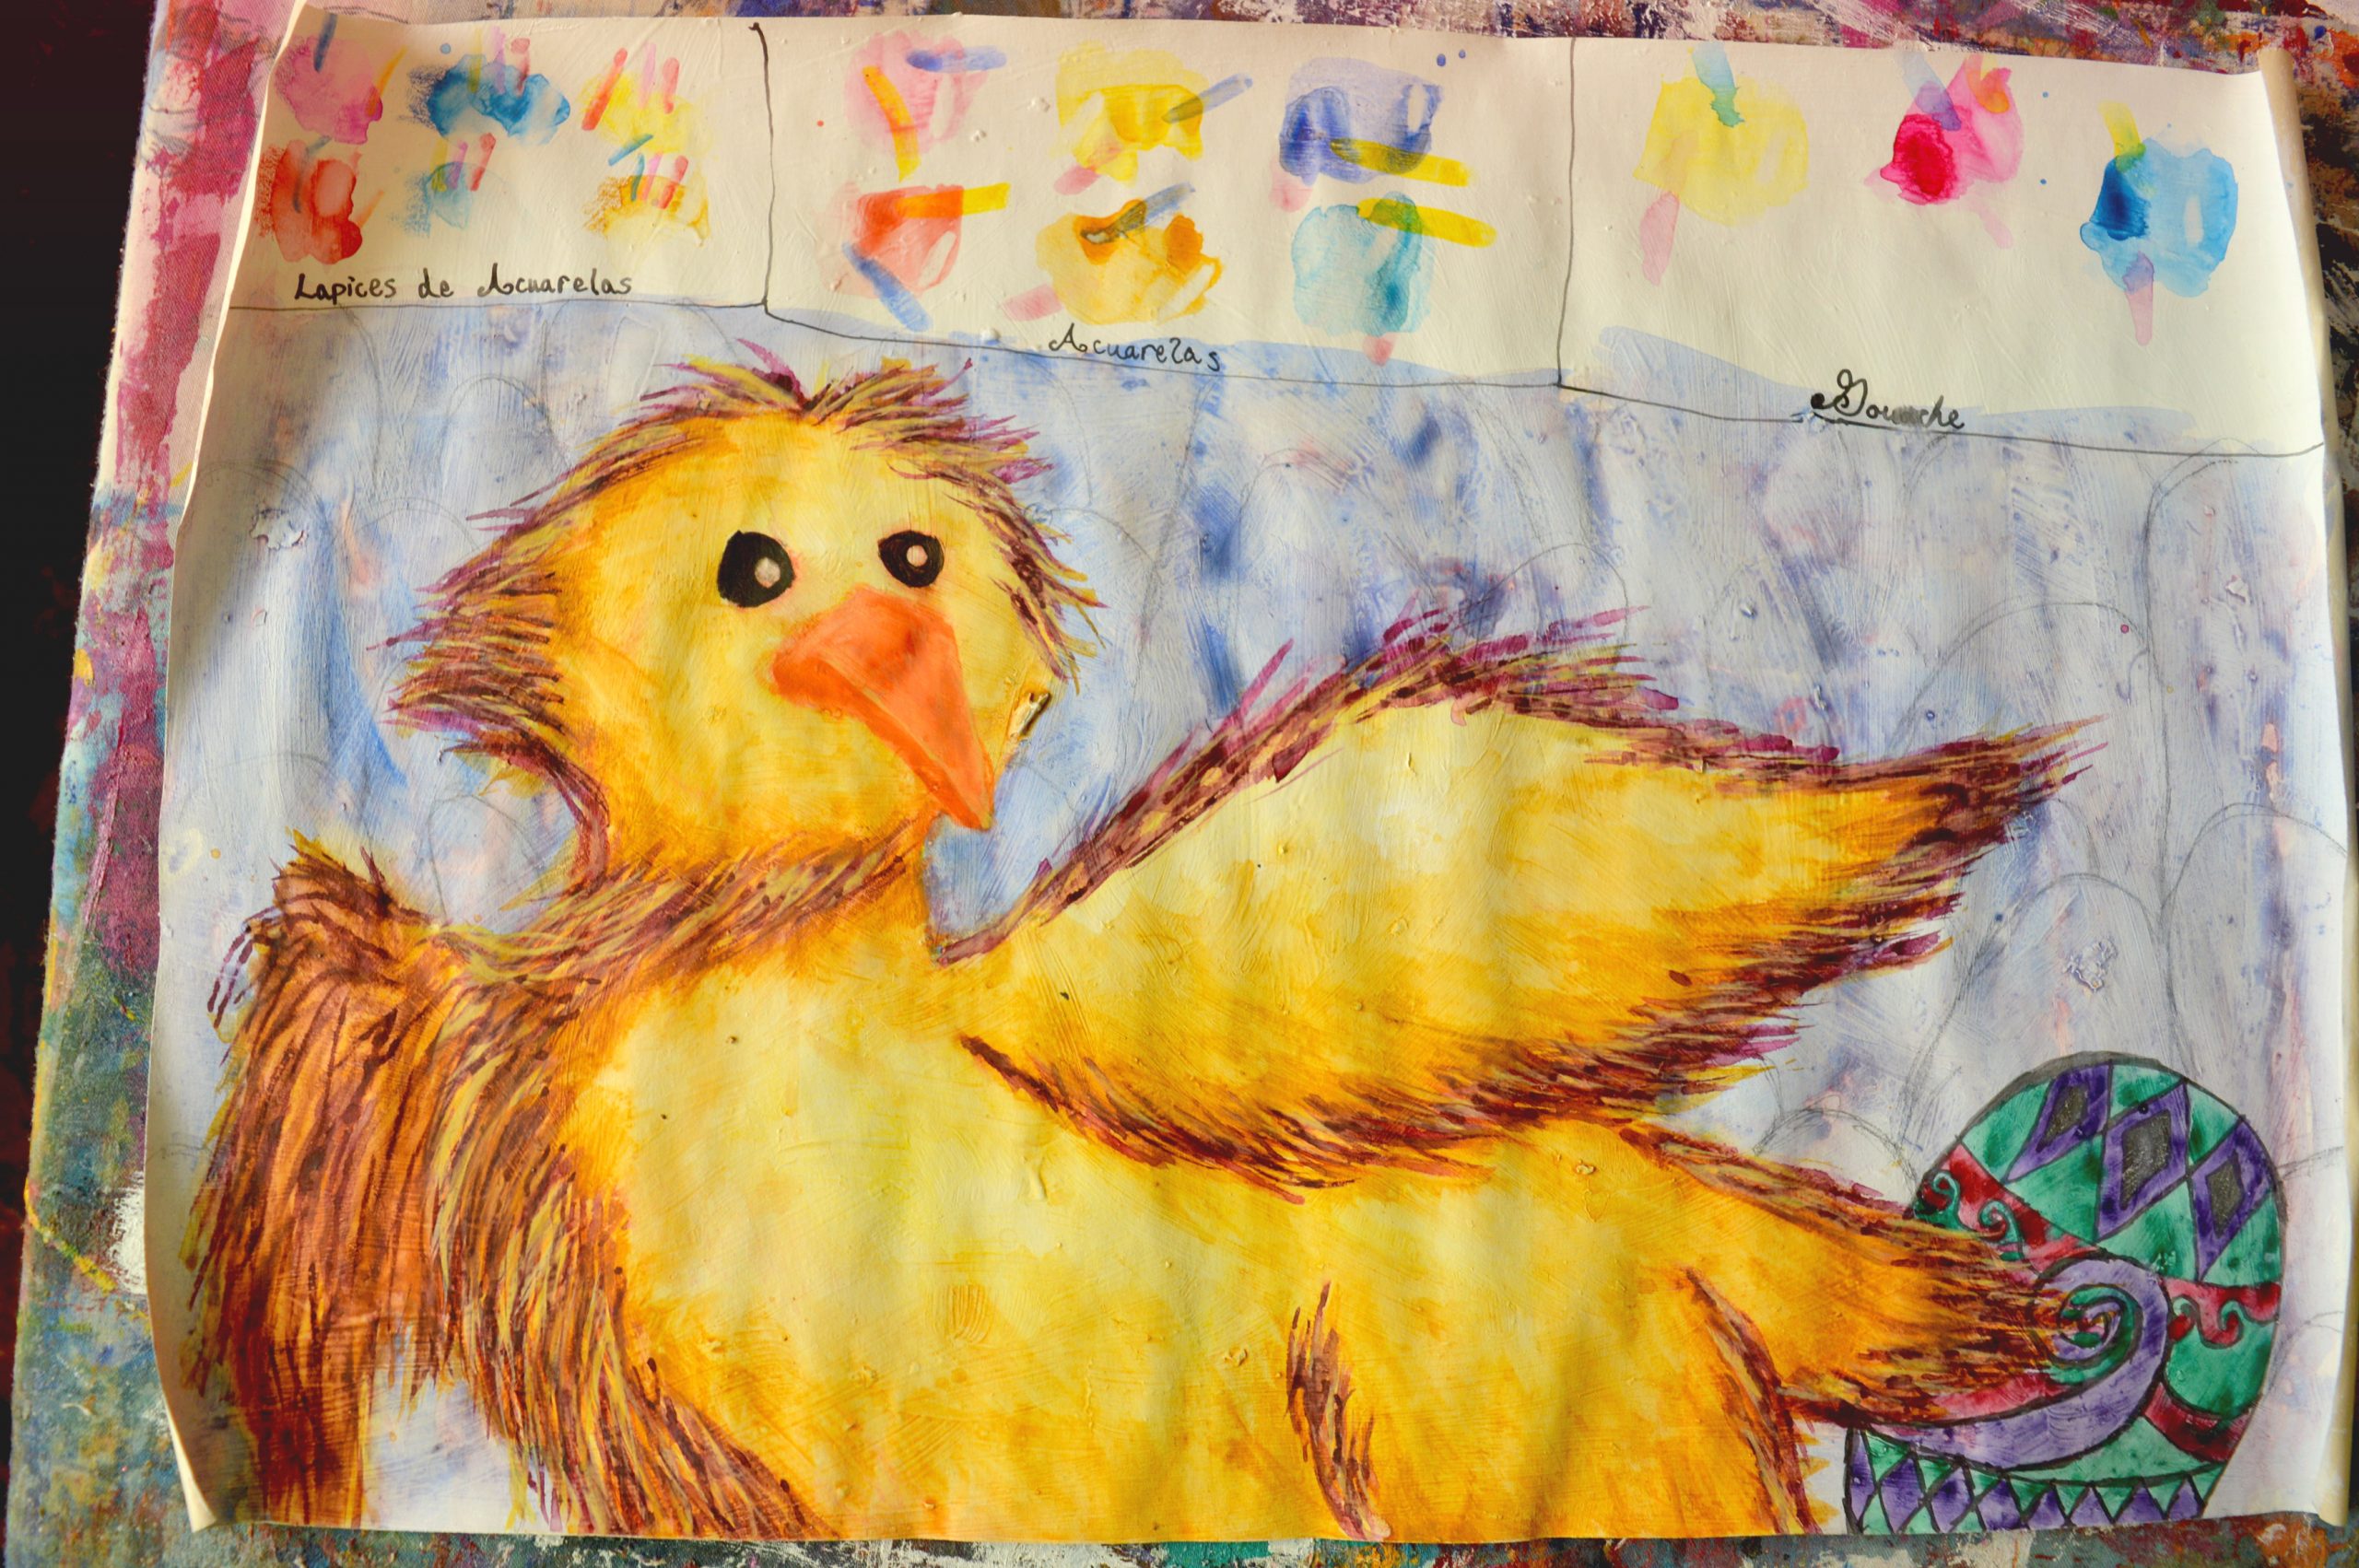
Results were absolutely wonderful, but still different than expected. I feel that I can create a cosy country living room with artwork made from this ground.
From what I’m seeing only two of my tests look the closest to my control painting. That is the ground on canvas and the ground on cheap drawing paper. The ground on top of acrylic paint that was painted on top of watercolor paper looked the most abstract.
I would like to do more tests but with the ground being sanded down.
Also gouache does lay on it well. Just don’t use an overabundance of water or you’ll get weird beads.
It also takes a long while for all this to dry between layers, so a heat gun may come in handy.
I was able to get many layers with this ground. I did not wake up previous layers like I thought I would.
Overall, this was a very amazing experience. I hope that you enjoy the paintings I plan to make in the future. Beautiful country living rooms always make me happy especially whenever I see it styled with stunning artwork!
Thanks so much for reading. I hope this was helpful. Which chicken painting was your favorite?
Gallery of baby chicken art
Fabulous Video of my process
- July 11, 2020
Spook your friends with this chaotic blog!
Harmonic discussions from the kreepy castle
Get a 20% off discount code
We never spam because that’s gross!